What is Fingerloop Braiding?
Fingerloop braiding is a technique used to create lengths of braided cord. This cord can be used for whatever you can imagine: as a string to close a pouch, as trim, to hold up hose (medieval equivalent of socks), lacing etc. As the name says, the cord is made using loops of yarn on your fingers.
Materials
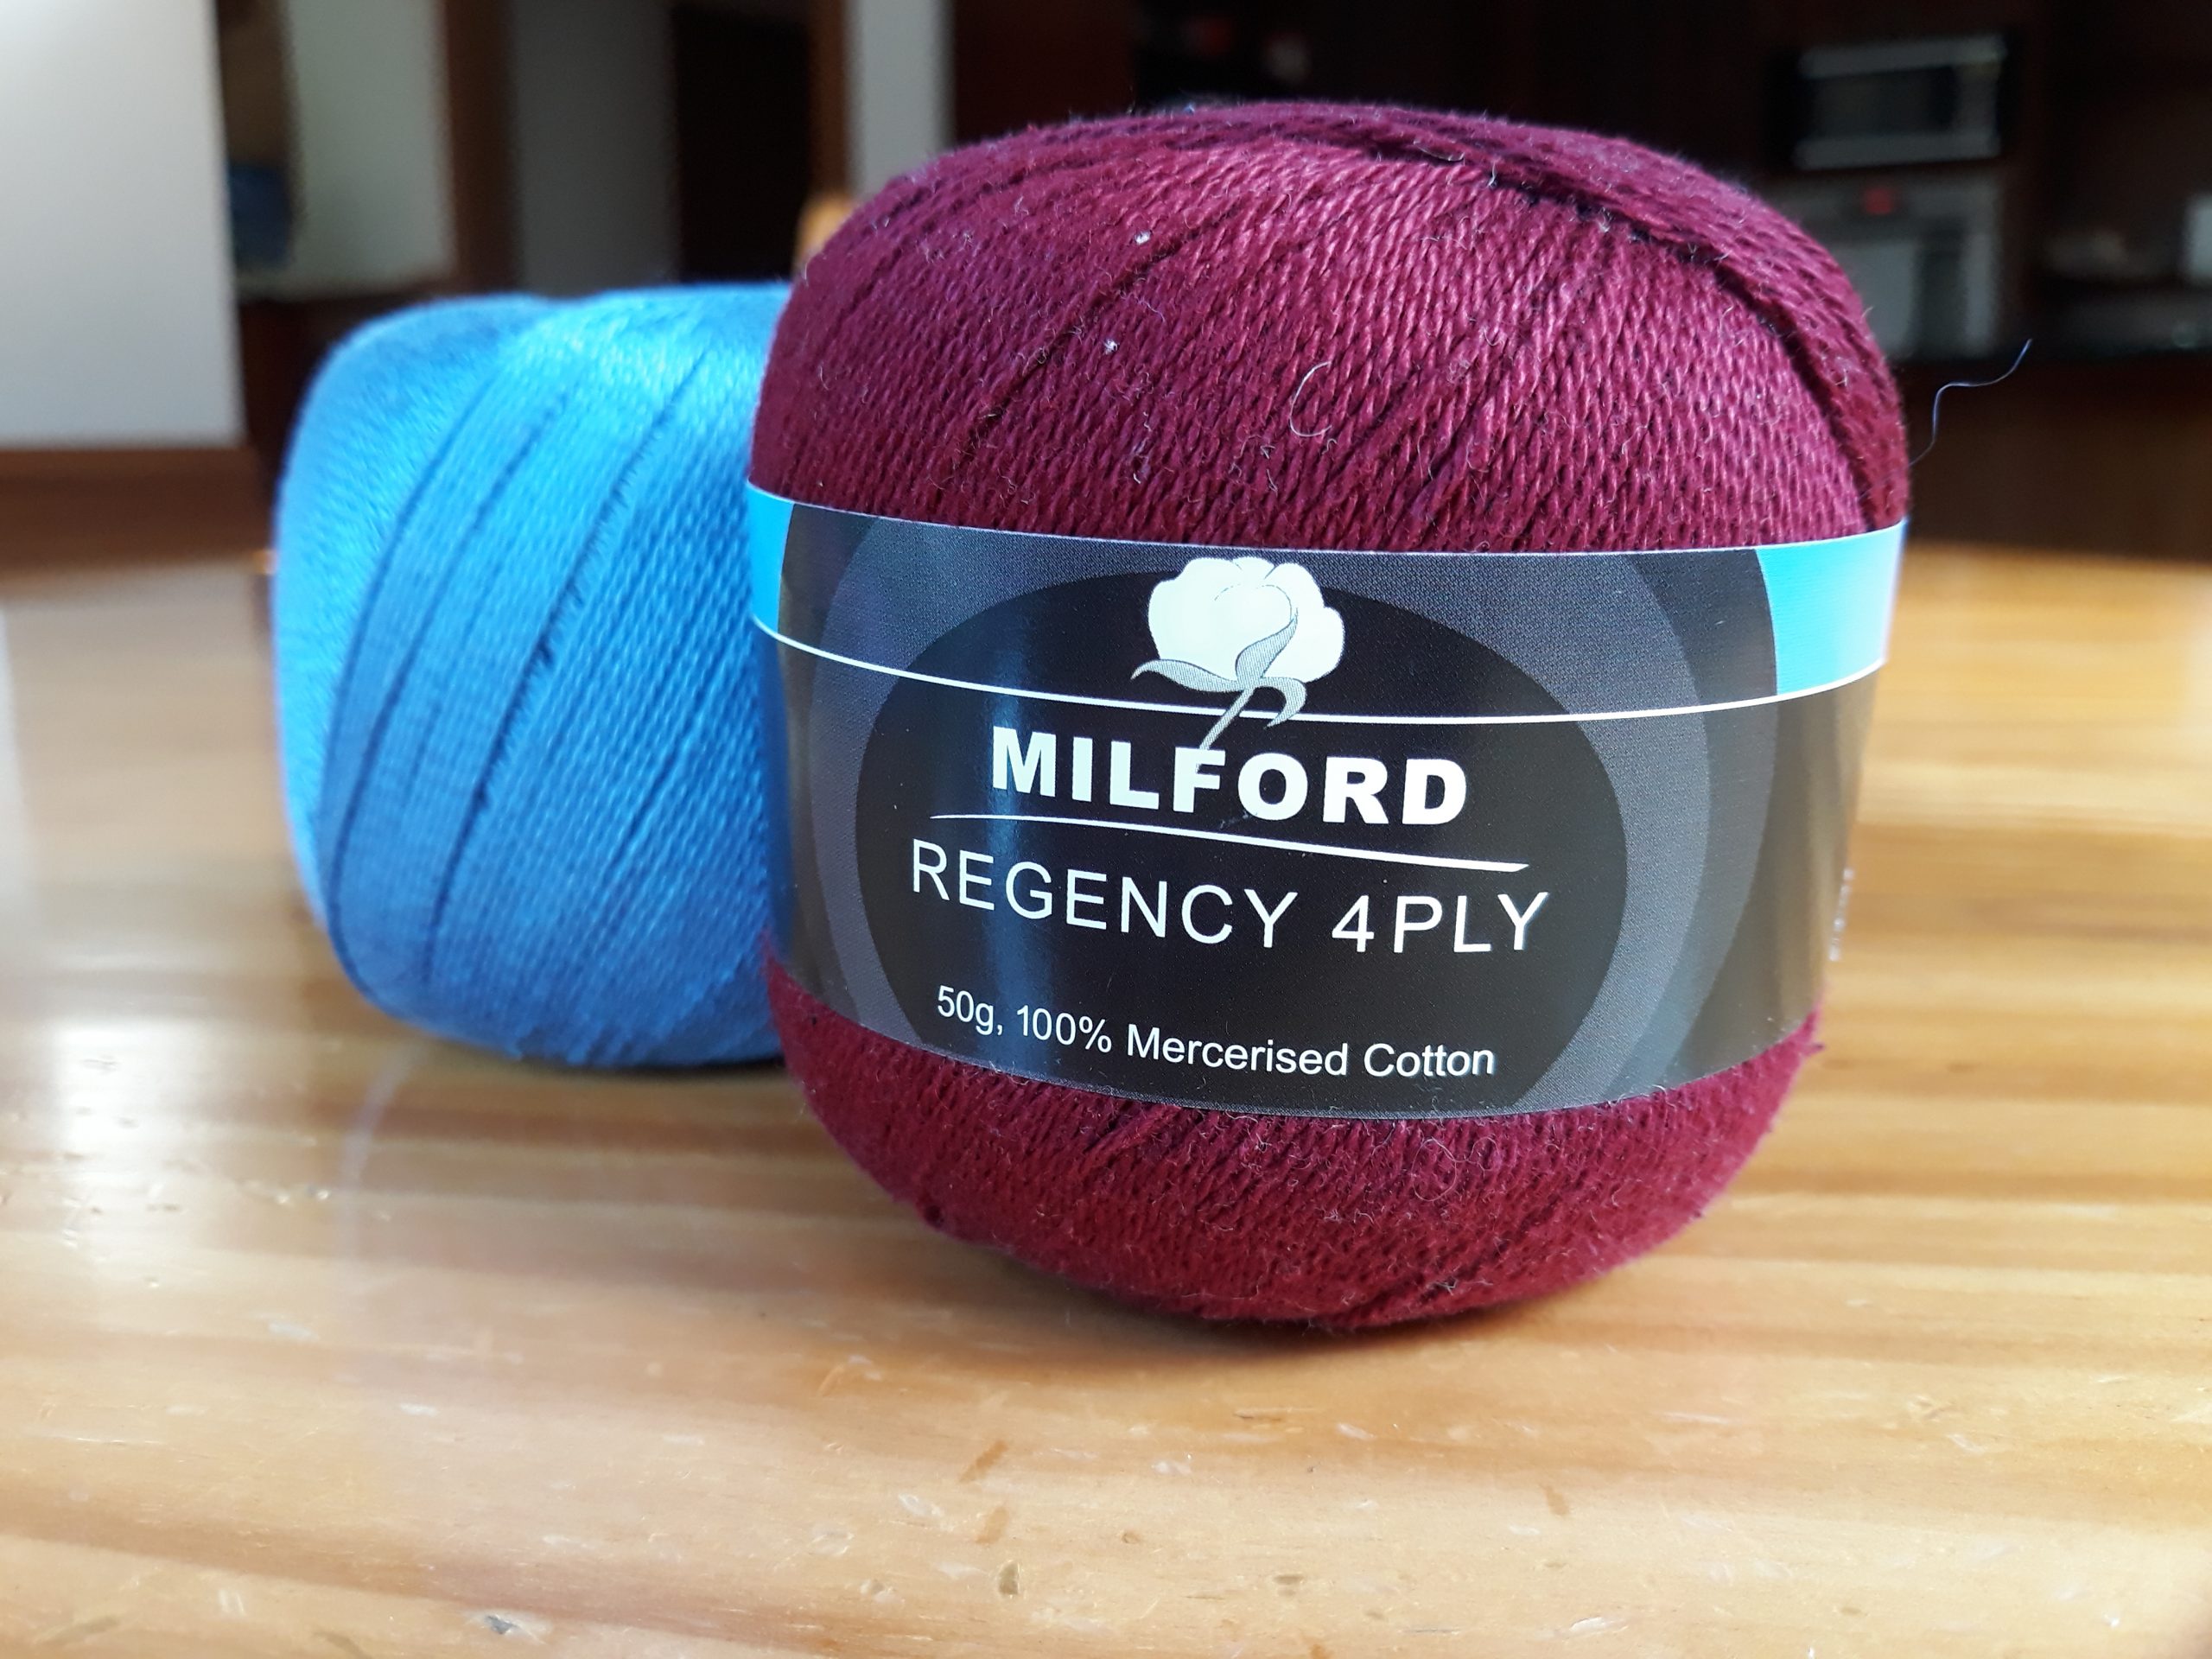
You will need your fingers (hopefully you already have these) and yarn. The yarn we normally use at the college is Milford Regency 4 PLY, which can be found at Spotlight. Other yarns will work too, although the thicker the yarn, the thicker the final cord.
Process
No matter what pattern you choose, you will need a number of loops of yarn. Once you have these, tie a knot at the end. Then use a spare piece of yarn to attach the tied together loops to a stationary object like a door handle or a chair.
Be aware that this process only really works on fairly short lengths of cord. If you want a longer length of cord (eg enough to go around a waist) then you will need some other method of maintaining appropriate tension. This could be sitting on the floor and using your foot to tighten the braid, or getting someone else to tighten it for you.
Spiral Pattern:
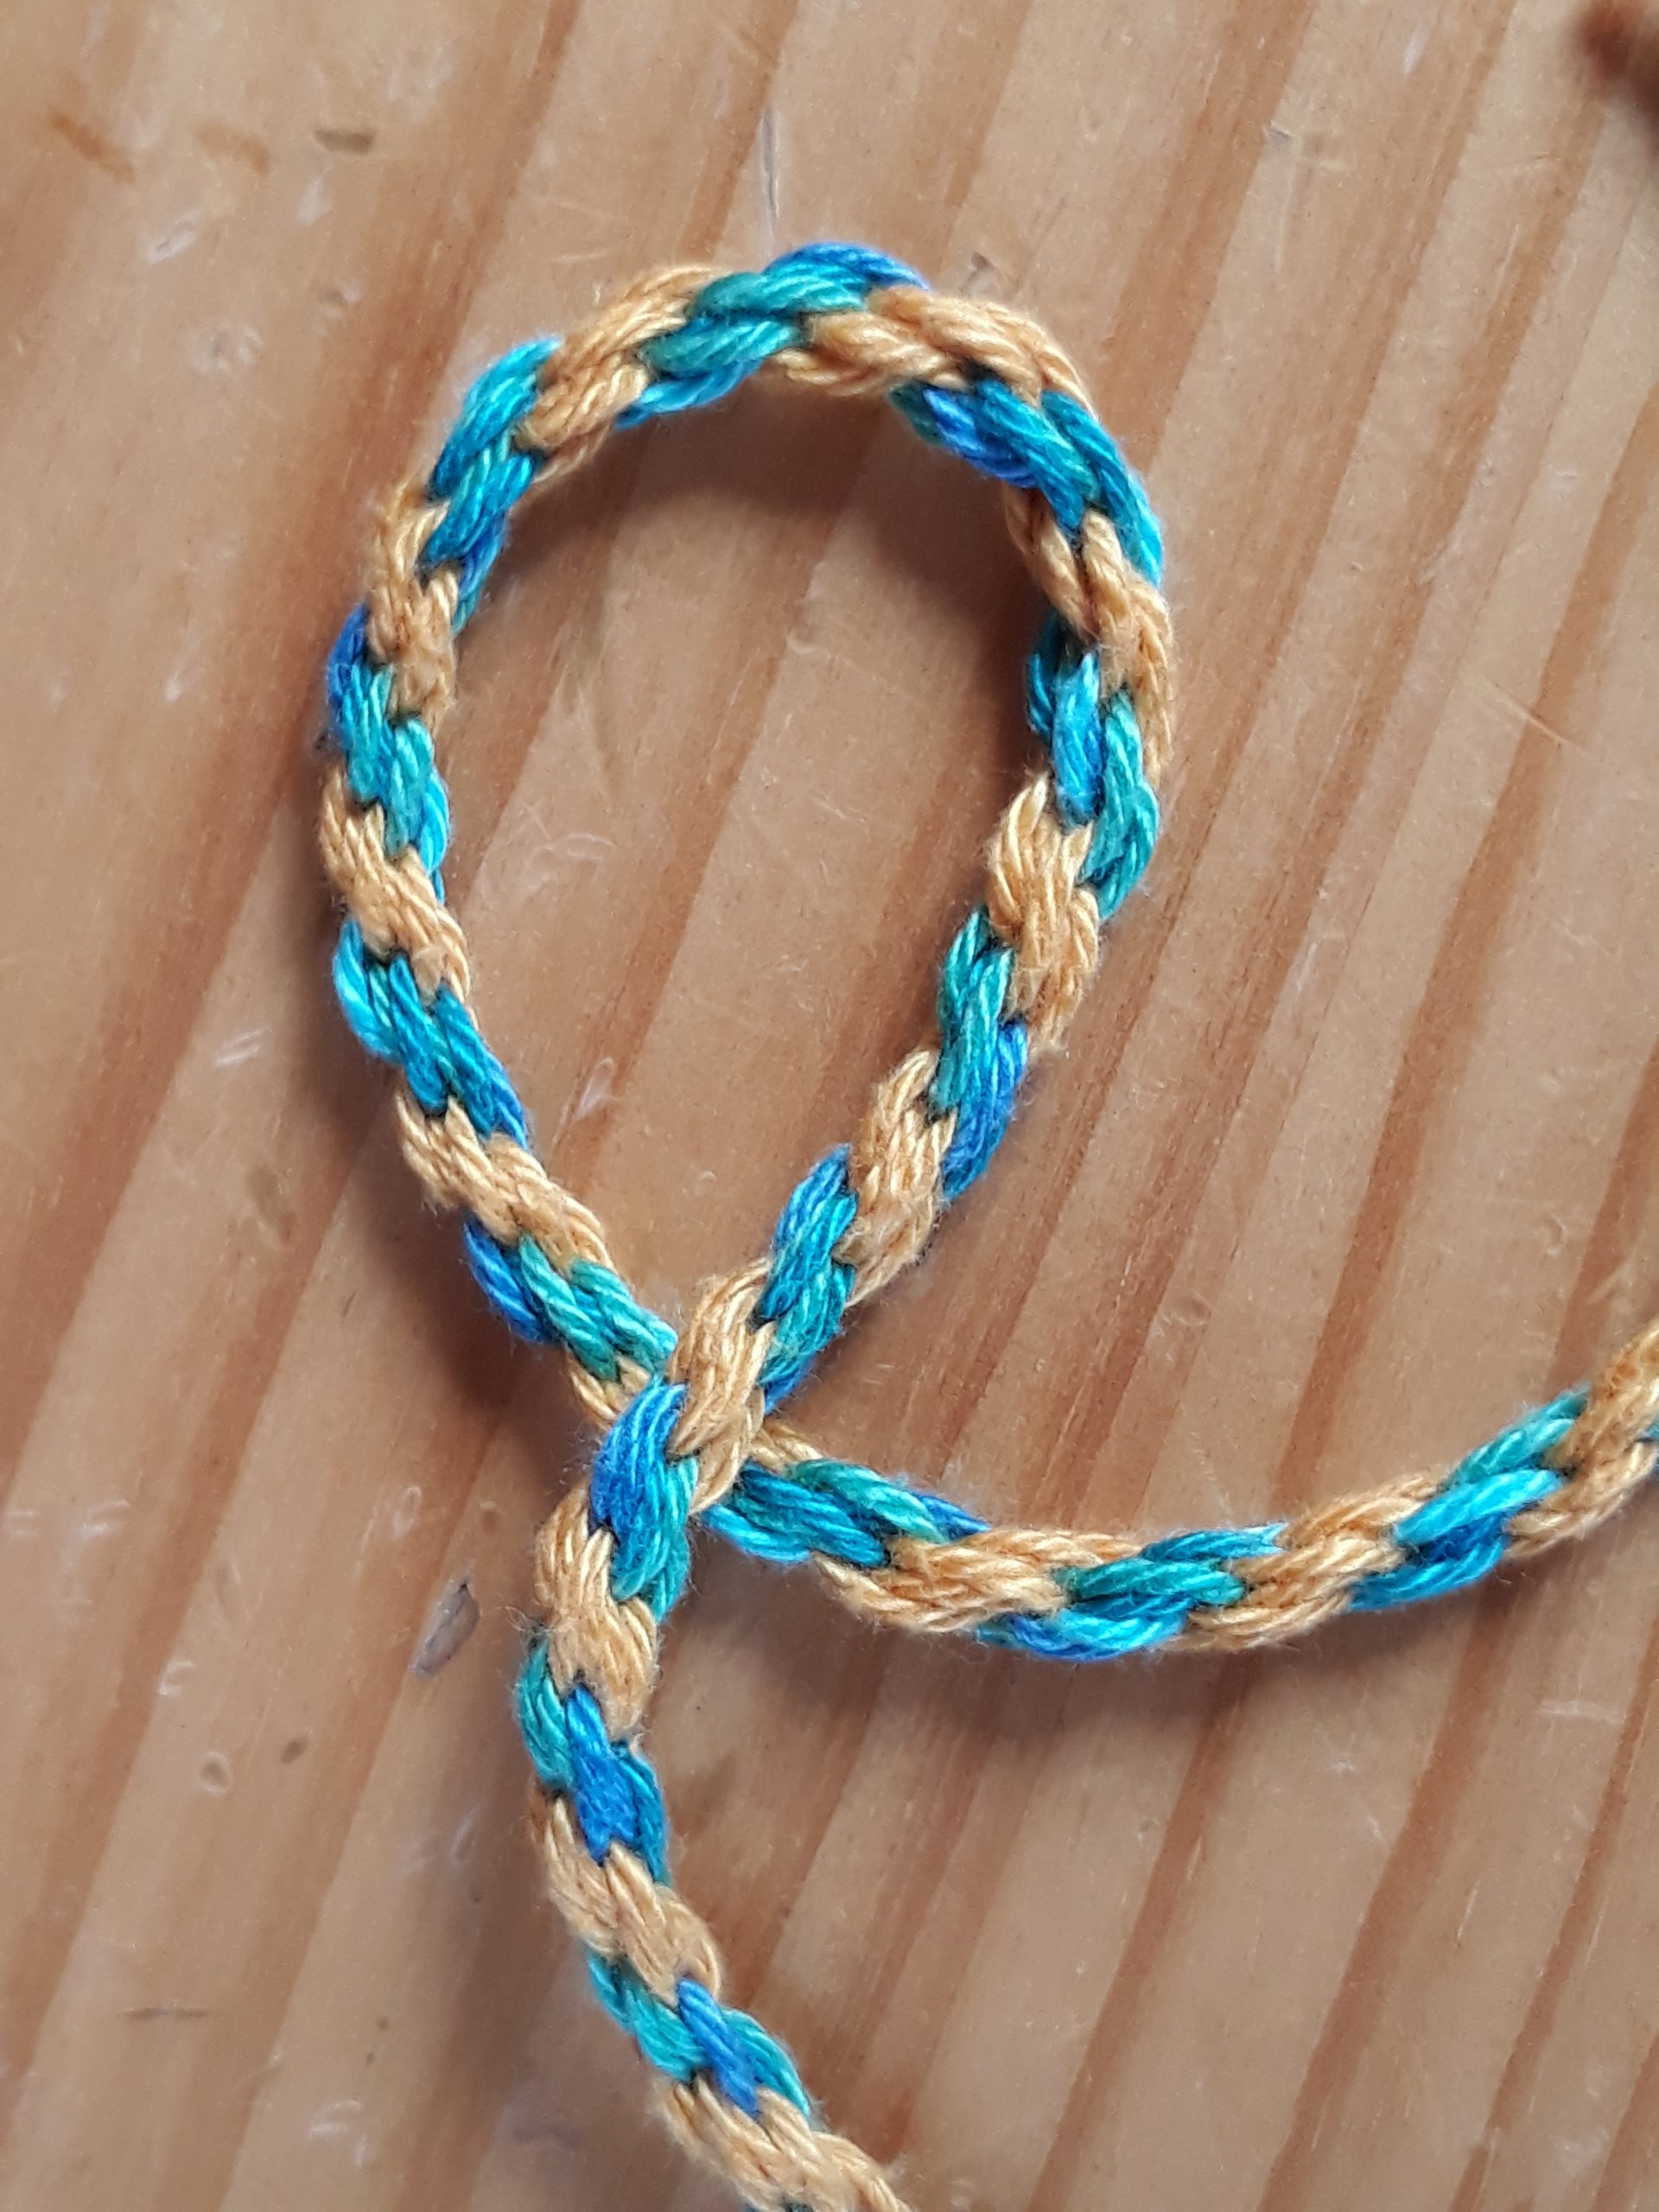
For this pattern you will need six loops. For best results, three loops of one colour and three loops of another colour. The loop colours used in the pictured braid are three gold and three turquoise.
Place a separate loop on each index finger, middle finger and ring finger on each hand, such that you have three loops of the same colour on one hand and three of the other colour on the other hand. Hold your hands in front of you, with the palms facing you. Now choose whichever hand you like to be the operator hand (the one that does the moving. Your dominant hand would probably be best.)
Assuming that you have chosen your right hand as the operator hand, you should swap the loop on your right index finger with the loop on your left ring finger. Pull your hands apart to tighten the braid. Now swap the loop on your right middle finger with the loop on your left middle finger. Pull your hands apart to tighten the braid again. Now swap the loop on your right ring finger with the loop on your left index finger. Pull your hands apart to tighten the braid. Repeat the motions (index to ring, middle to middle, ring to index) until you are satisfied with the length of your braid or you don’t have enough length left on the loops to continue.
Square Chevron Pattern:
To make this pattern you will need five loops. Usually we would say three of one colour and two of another, but try experimenting to see if any other colour combinations look good! The loop colours used in the pictured braid are three green and two black.
Place a separate loop on each of your index finger, middle finger and ring finger on your left hand. These should all be the same colour. Then place a separate loop of the remaining colour on your index finger and your middle finger on your right hand. Hold your hands in front of you, palms facing towards you.
With the ring finger of your right hand (the one without a loop) reach up through the the two loops on your left ring and index fingers to grab the top of the loop on your left index finger. Bring that one back through the loops of the left middle and ring fingers. Now you have three loops on your right hand and two loops on your left hand (middle and ring fingers have loops). Pull your hands apart to tighten the braid. Walk the loops on your left hand up so that your ring finger is free (as in, take the loop on your middle finger onto your index finger and the loop on your ring finger onto your middle finger). Now you have the same setup as when you began, only on opposite hands. Follow the same process again, this time with your left ring finger and your right hand. Repeat this until you are satisfied with the length of the braid, or you don’t have enough length to continue.
More Resources:
Check out this website https://fingerloop.org/patterns.html or this website http://www.silkewerk.com/braids/structure.html for a description of some other patterns that can be made.
This YouTube video by YouTuber Morgan Donner shows the general process of creating a braid, specifically using the pattern “A Grene Dorge of VI Bowes” c. 1475 (which can also be found on the previous website as number 6).